How to Make GIFs with Tumblr: Your Playful Guide to Animated Awesomeness!
So, you want to jump into the exciting world of GIF-making on Tumblr? Well, grab your virtual toolkit because we’re about to embark on a whimsical journey into pixelated animation! Whether you want to create the perfect reaction GIF or showcase your latest creative masterpiece, I’ve got the deets to help you shine like a star in the vast universe of Tumblr.
1. Gather Your Tools
Your GIF-making adventure begins with the right tools! The most common software used for GIF creation is Adobe Photoshop. If you don’t have it, you can also explore free options like GIMP or online services like Giphy. All you need is an asset—a video clip or video file to transform into a glorious GIF!
2. Import Your Video Clip
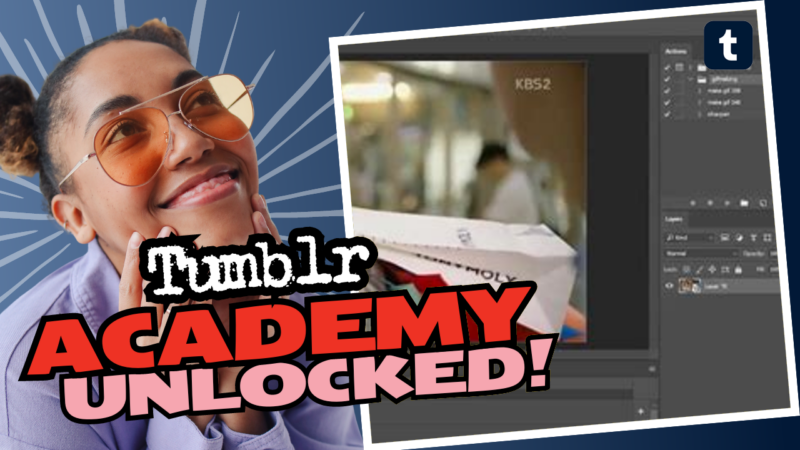
Once you’ve got your software set up, it’s time to import your video clip. In Photoshop, go to: File > Import > Video Frames to Layers. This will bring your video into Photoshop in a neat, organized way that you can work with. Look, ma! No messy videos here!
3. Clip and Crop Like a Pro
Here’s where the magic happens! You want to crop and resize your GIF to fit Tumblr’s parameters. The popular GIF size that works well on Tumblr is usually set around 540px wide x 350px tall. Choose dimensions that fit your style, but remember, Tumblr’s max width is 540px. Don’t push your luck!
4. Optimize for Perfection
Optimization is crucial if you want your GIF to look sharp and emoji-worthy! Head over to File > Export > Save for Web (Legacy). In the dialog, you can tweak settings such as colors and dither options to make sure your GIF looks fabulous while staying within Tumblr’s size limit—otherwise, it won’t even upload. Let’s not waste a GIF masterpiece, okay?
5. Coloring and Enhancements
Don’t just stop at making it! Let’s sprinkle some magic dust on that GIF and enhance it with colors and sharpness. Use adjustments and filters in Photoshop to enhance your creation. Play around with brightness, contrast, and more until it looks as intoxicating as your favorite snack.
6. Save and Share
Finally, don’t forget to save your masterpiece. Again, go to File > Export > Save for Web and choose the settings that best fit your stylish GIF. You can now flaunt your creation and watch as your followers enthusiastically reblog your GIFs, showering you with love!
And there you have it! You are now armed with the knowledge to create your very own GIFs on Tumblr. Go forth and let your creativity run wild! If you find yourself needing further help, answers, or research resources, don’t hesitate to live connect with us! Your GIF-making adventures await! 🎉

